
What is my Pressure Reducer, How do I adjust the Pressure?
Step 1 - Find the Valve
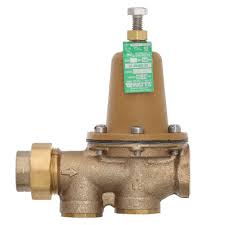
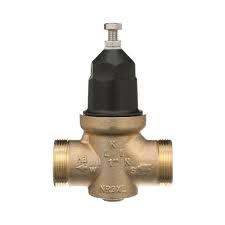
The first thing you need to do is find the valve. This is often located in the basement or a water meter box. It looks like a bell in the middle of it and is made out of brass typically. When you locate it you should be able to see the adjuster screw on it. You may need a flashlight if the box is located somewhere dark.
Step 2 - Loosen the Screw
Using pliers or a wrench you can loosen the nut so that you can adjust it easily.
Step 3 - Adjust Water Pressure
Now that the screw is loosened you can either turn it clockwise to increase the water pressure or counterclockwise to decrease pressure. Make sure to keep these turns small so that you aren't making any drastic changes.
Step 4 - Tighten Screw and Test
Tighten up the screw after you have finished and test the faucets to make sure that you have adjusted to a pressure that you want. If not, just repeat these steps until you have.
Following these steps will ensure you a pressure level you desire.